By: Sue Pasqual
When you’re about to embark upon a journey that will change your body and your lifestyle for the healthier, nothing captures the results of this experience quite like a set of before and after pictures. Whether you want them as a motivator to remind you of how far you’ve come or as a way to share your inspiring story with the world, read on for our tips on how to take before and after pictures!
Unless you live in a bubble, you’ve seen the inspiring, well-taken before and after shots + we know what you are thinking: how can I take photos that inspire like that? Well-taken transformation pics are a great way to inspire others along their own weight loss journeys, but many of us forget to (or just flat out don’t want to).
We get it – most of us don’t really want to showcase the before photo, and many try to erase any evidence of our starting point once we’ve reached our goal. After all, it was “before” we created the healthy habits and physique to really feel good about ourselves! But you can’t have an amazing “before” and “after” transformation experience unless you buckle down and take those “before” pictures! Follow these tips to capture before and after pictures that reflect all your hard work – even if it is just for you to see!
Tips on Taking Before and After Pictures:
1. Wear Correct Clothing
We know that taking before shots can be uncomfortable, but in order to see your progress, you’ll need to see your starting point! It’s impossible to do this if you’re hiding inside of a baggy t-shirt + shorts or clothing that covers your shape.
Form-fitting activewear or swimwear is best for both genders, but the following guidelines are a good rule of thumb for each:
- Men should wear shorts, athletic spandex, or swim trunks without a shirt. Try to avoid wearing underwear if you’re planning to share on social media!
- Women should wear a bathing suit or sports bra and shorts (spandex if you have it).
A key point on how to take before and after pictures is making sure your stomach is visible as this is a great indicator of weight loss and/or muscle gain! Remember: as scary and exposed as you feel taking your before pictures, seeing your transformation in the after pictures will be worth it!
2. Capture Your Full Body Shape
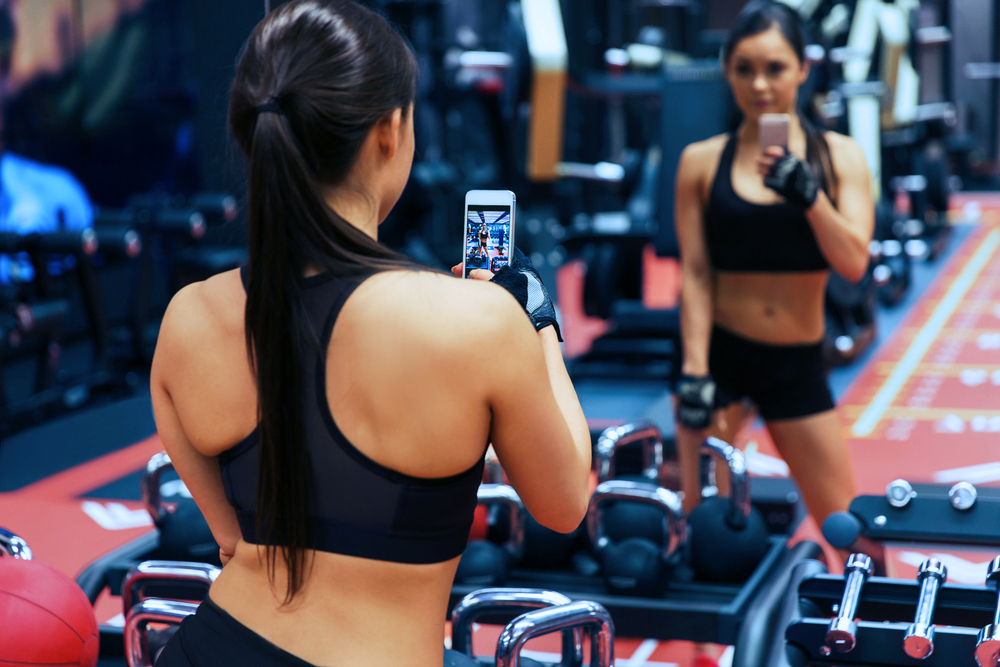
Selfie mode just isn’t going to cut it on this one, and mirror selfies won’t either! Both of these options cause you to stand in positions that don’t give a clear and accurate view of your body shape which is important as you’re tracking weight loss and improvements in body composition! If you want to know how to take before and after pictures that make an impact, get a friend to take the picture for you or use a tripod and set your auto-timer on your phone’s camera. Having someone take it for you might be the best option as they can ensure you are centered in the frame.
One last thing – don’t suck in your stomach or flex for your pictures. Not only is this very easy to spot in before and after images, not being honest with yourself is doing you no favors!
3. Capture 3 Angles
Be sure to take before and after pictures in the following angles to fully capture your shape:
- Front-facing
- Back-facing
- Side-facing
Take multiple photos in each position so you can pick the ones that show your shape best. Your arms can be by your sides or lifted as long as you’re consistent in the images you take + you aren’t using them to hide parts of yourself. Also important to note is that you will want to take a full body shot, ensuring that your face and feet are in the picture!
4. Find Good Lighting + Background
You’re the star of the show when it comes to before and after pictures, so make sure your background and lighting aren’t taking away from the focus of the image! Stand against a plain wall with a clean, bright color and make sure the dog, laundry, furniture or other things aren’t creeping into the picture. Once you’ve found your spot complete with a clear background and bright or natural lighting, mark that spot! Taking your photos in the same space and at the same distance from the camera helps prevent perspective distortion so you can track your progress most efficiently.
5. Take Pictures In Intervals
It’s generally a good idea to take pictures along the way in the same positions and location. While the number on the scale may not budge due to changes in body composition or water retention, the way you look in photos will change. Consider monthly intervals so that your body has time to show the results of all your hard work, and make sure you wear the same clothing in all of your images! You’ll be amazed by the changes you see in yourself and it will keep you motivated to continue on.


Comments (0)